Creating a Utility Agent
Introduction
In this step-by-step tutorial, you will create and use a Utility Agent in Flowable to handle a simple AI task.
The example use case:
“Return the typical weather for a location and time of year specified by the user.”
You will define a Utility Agent with one operation, configure structured input and output parameters for that operation, write prompts using variables, test it interactively, and integrate it into a BPMN process.
This tutorial assumes no prior experience with Utility Agents - everything you need is covered here.
Step 1: Create the Utility Agent
1.1 Create a New App
Open Flowable Design and create a new app:
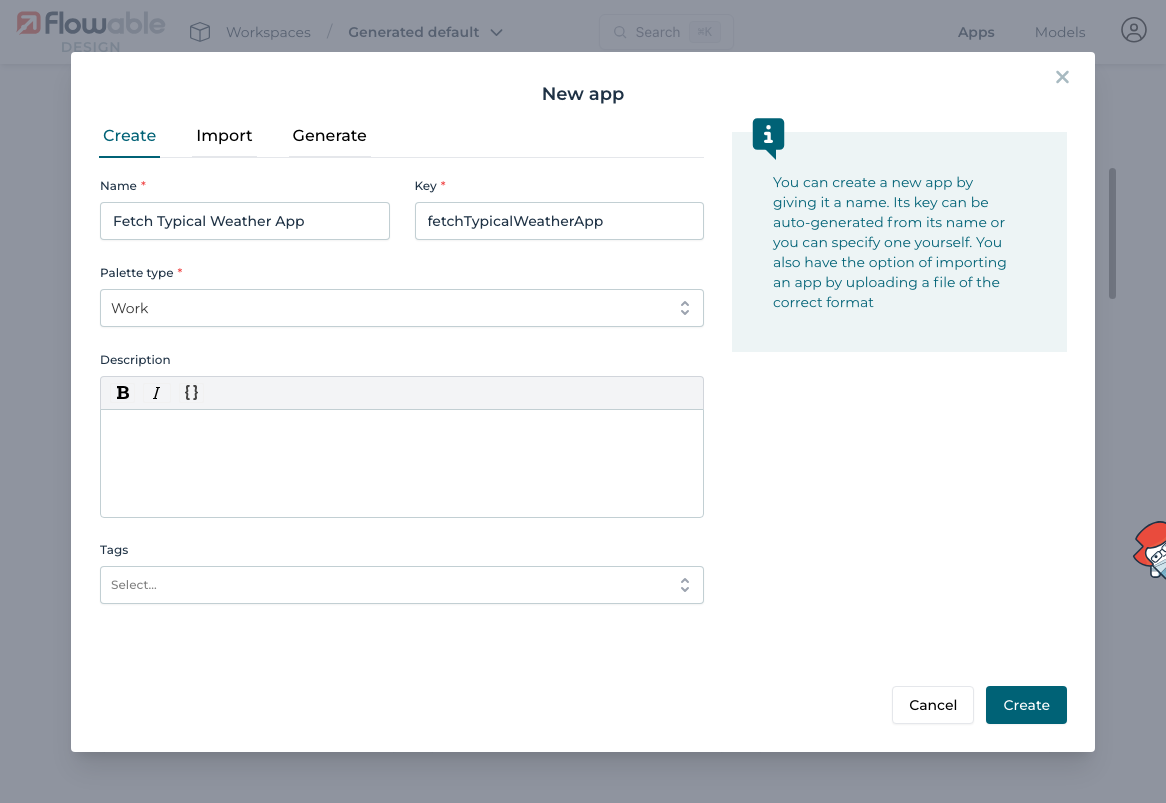
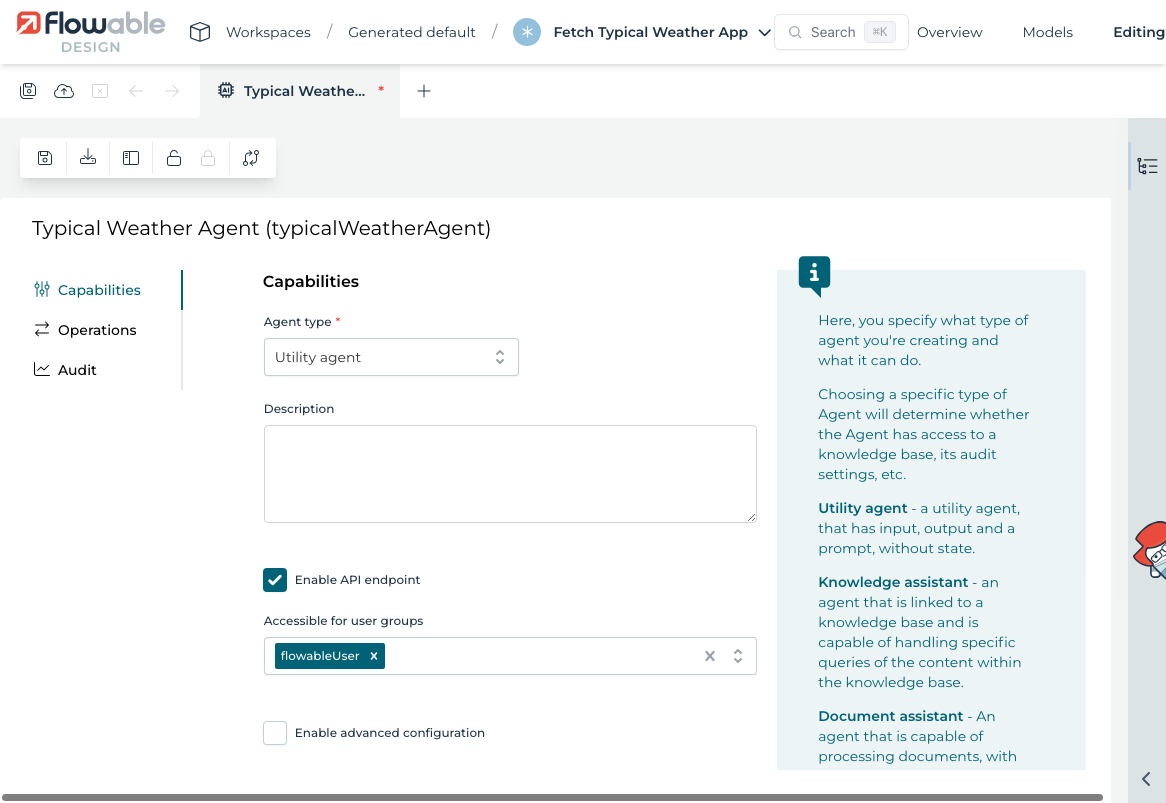
1.2 Add a Utility Agent
Inside your app, create a new agent:

And select Utility Agent as the type
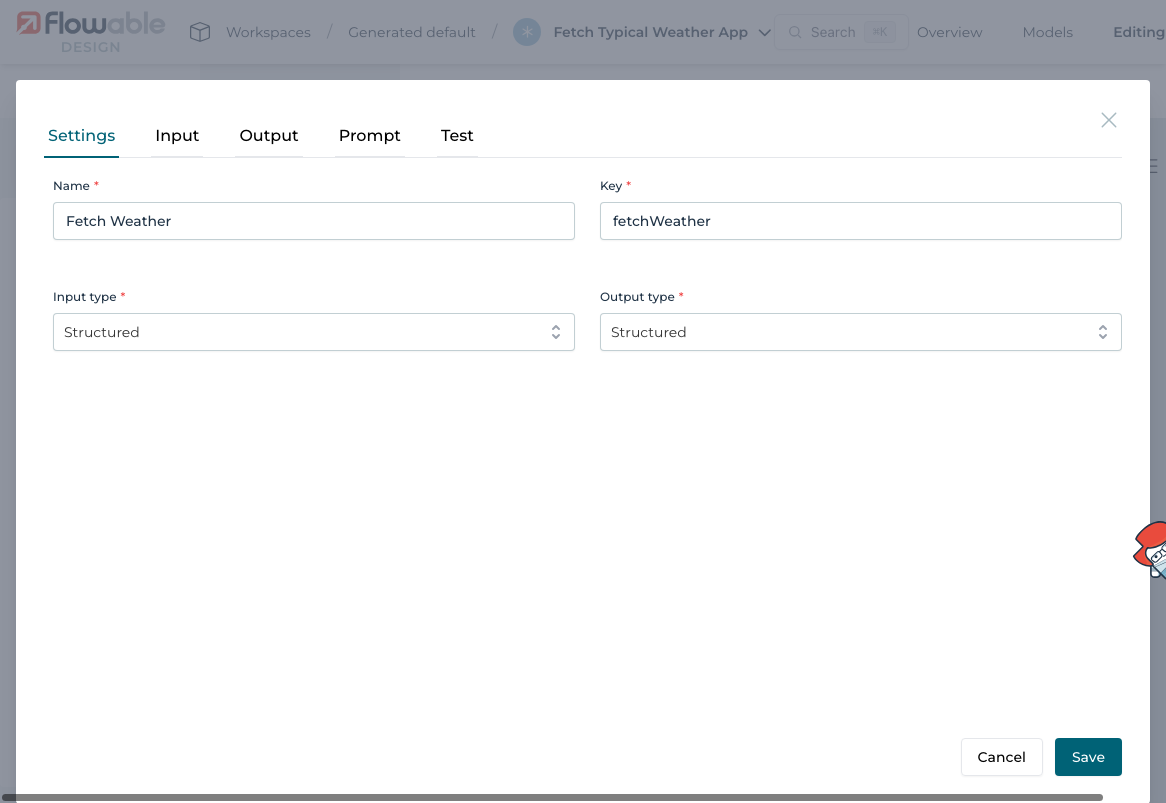
1.3 Add an Operation
Create an operation named Fetch Weather.
Set both the input and output type to structured:
Step 2: Define Input and Output Parameters
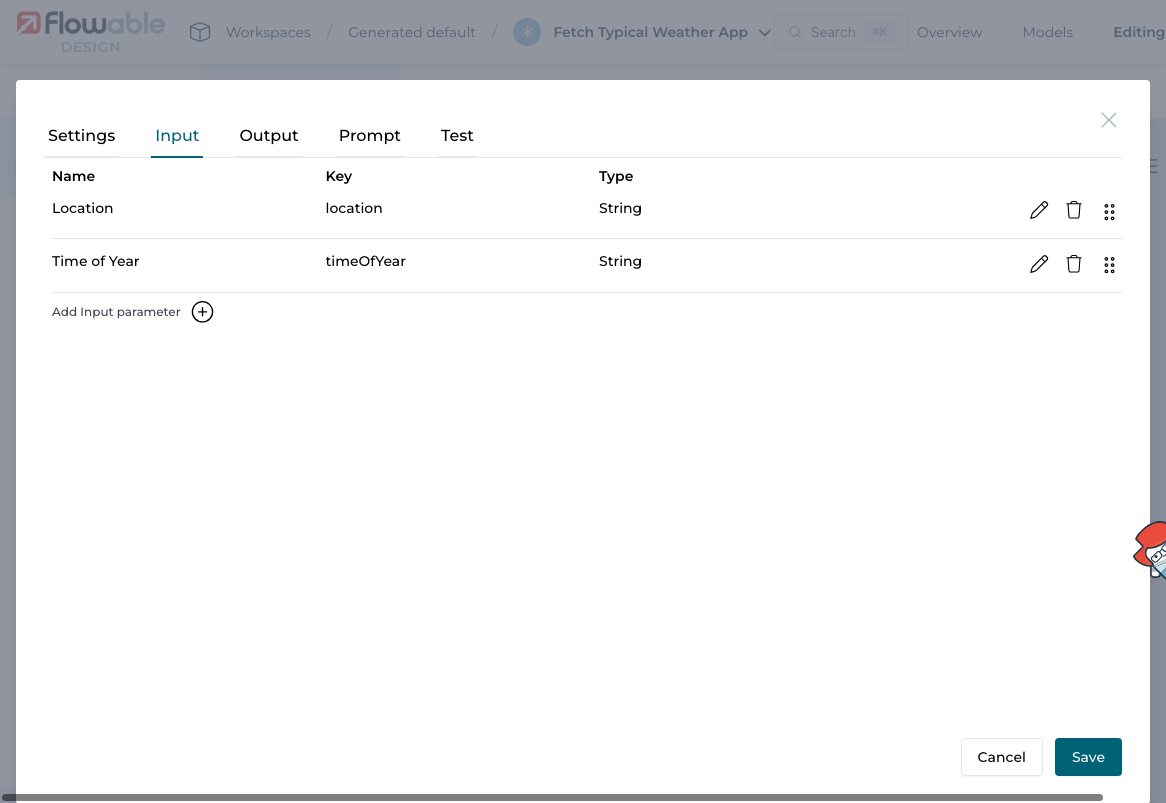
2.1 Input Parameters
Add two input parameters to the operation:
| Name | Key | Type |
|---|---|---|
| Location | location | String |
| Time of Year | timeOfYear | String |
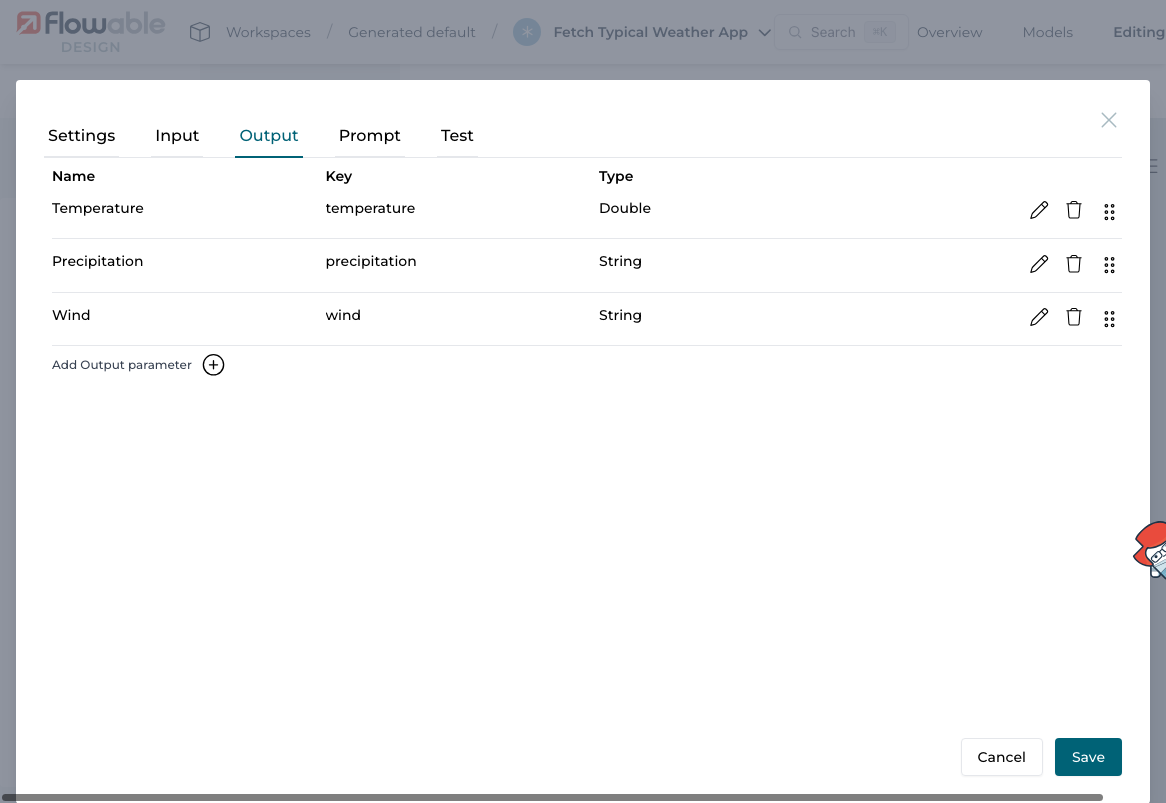
2.2 Output Parameters
Add three output parameters:
| Name | Key | Type |
|---|---|---|
| Temperature | temperature | Double |
| Precipitation | precipitation | String |
| Wind | wind | String |
Step 3: Configure Prompts
The prompt tells the AI how to behave.
Use the following:
-
System message:
Provide the typical weather for the given location and time of the year. -
User message:
What is the typical weather for ${location} in ${timeOfYear}?
You can reference input parameters using ${parameterName}.

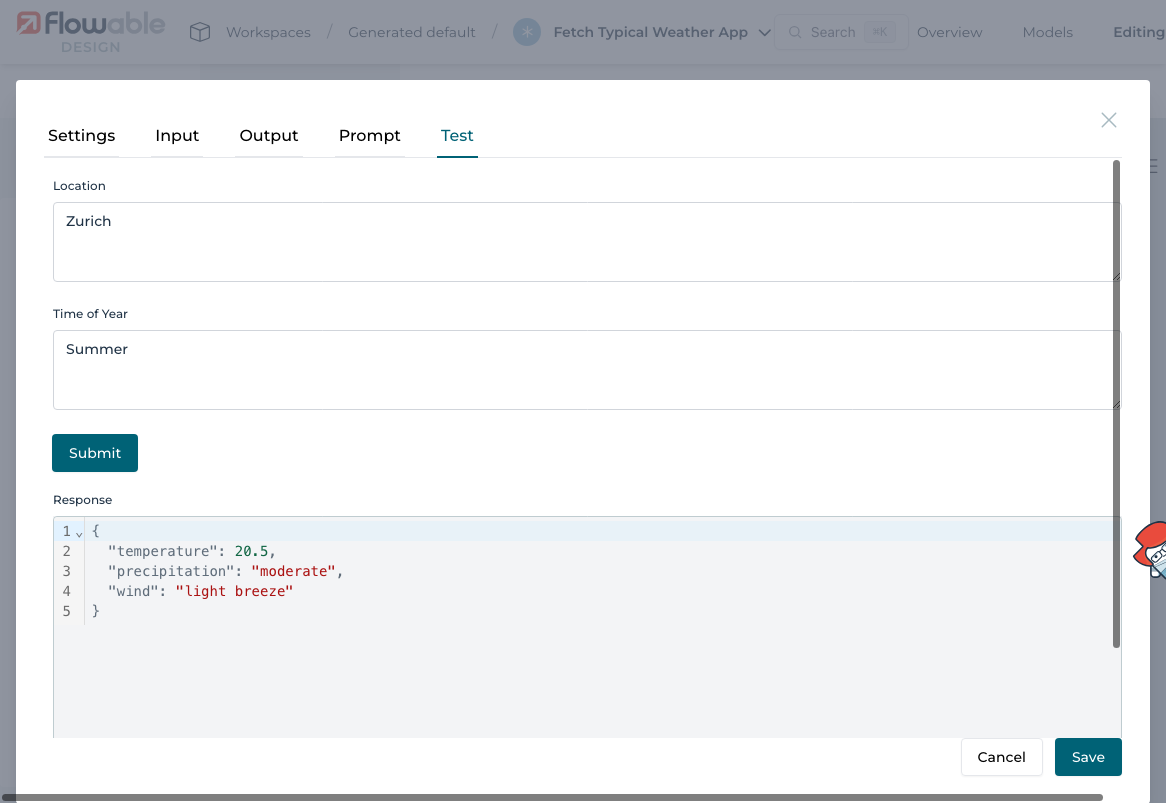
Step 4: Test the Operation
Use the Test tab to try your operation.
Enter a sample input:
Location: ZurichTime of Year: Summer
You should see a structured response returned by the LLM with values for temperature, wind, and precipitation:
Step 5: Build a Process to Use the Agent
To use the agent now as part of a process or case, there is an Agent Task for BPMN and CMMN.
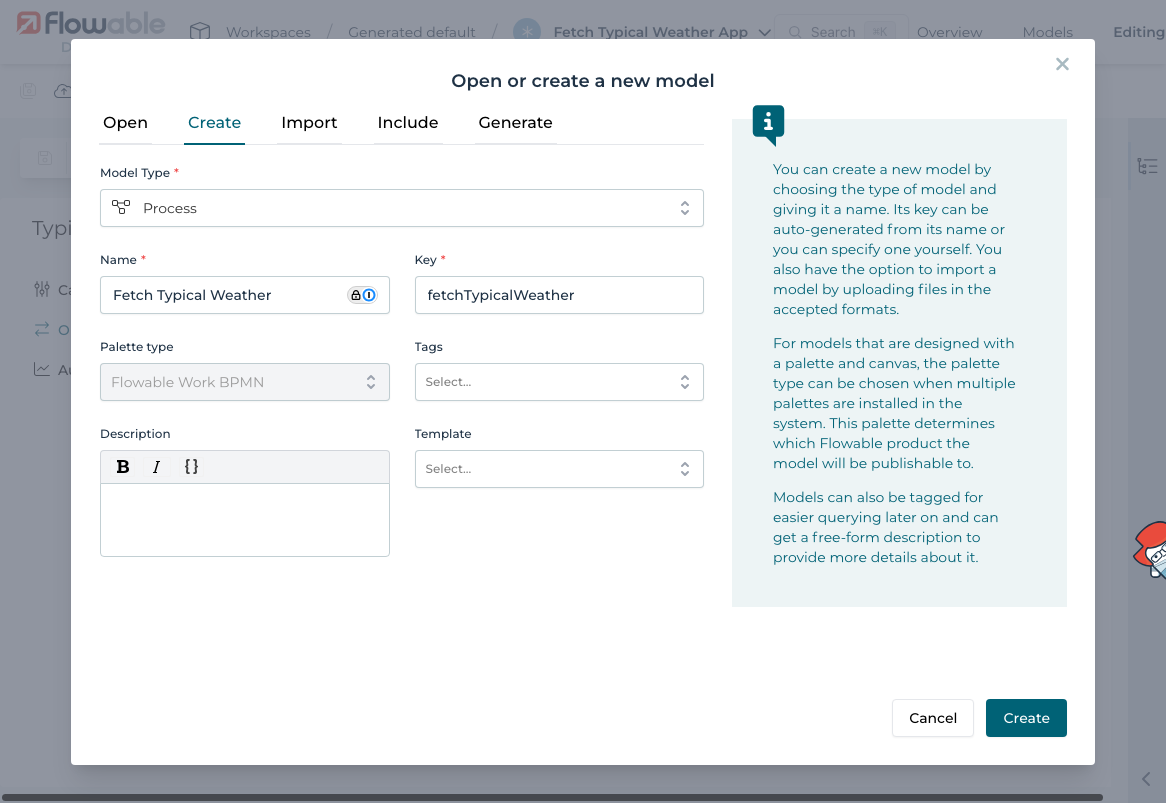
5.1 Create a New BPMN Process
Create a process named Fetch Typical Weather:
5.2 Add a Form for the Start Event
Attach to the start event a form called Weather Information Input Form with the following fields:
- Location (Text)
- Time of Year (Text)
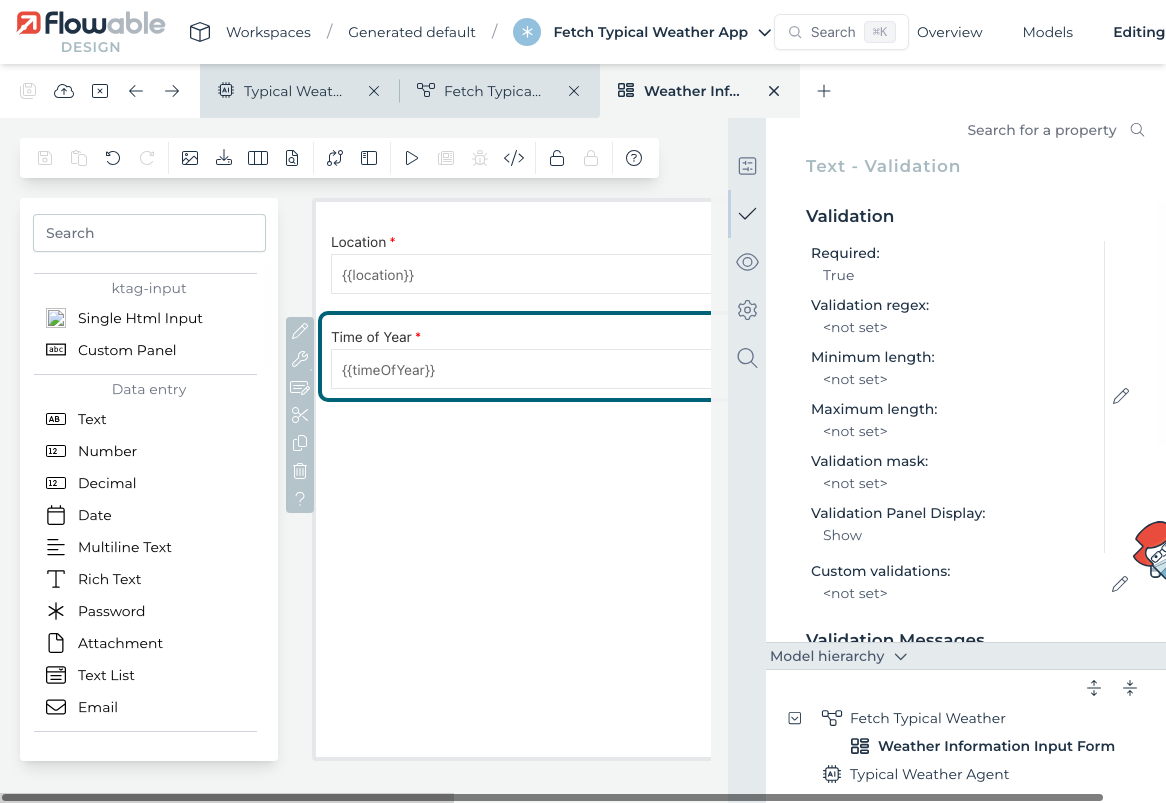
Resulting in the form:
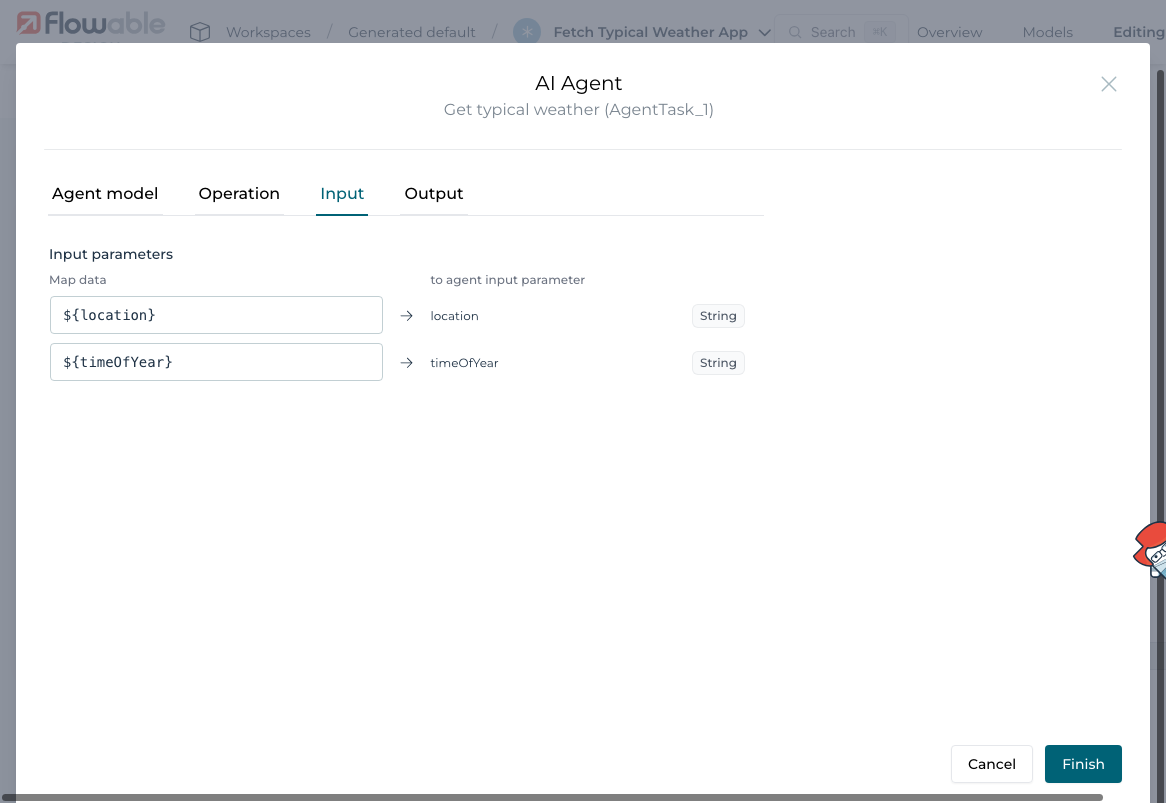
5.3 Add an AI Agent Task
Drag in an AI Agent Task. Configure it to:
- Use the Utility Agent and the
Fetch Weatheroperation - Bind input parameters to form fields
- Bind output parameters to process variables
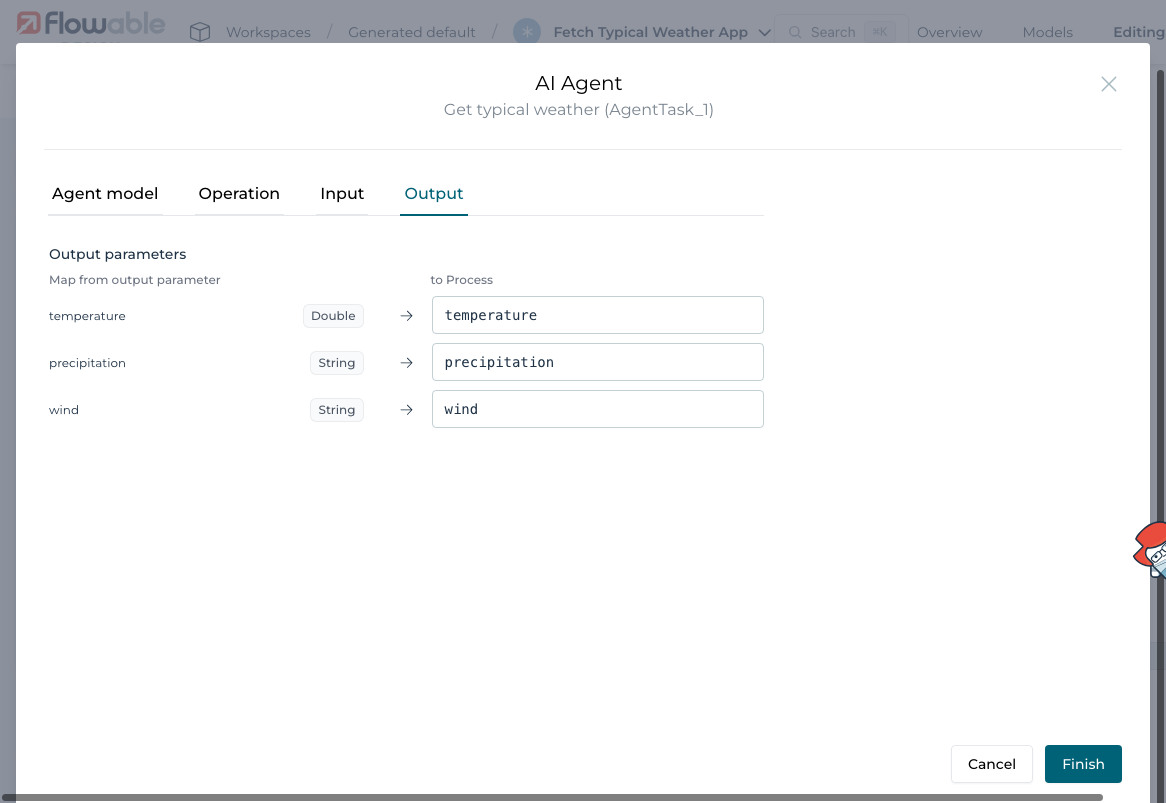
For the output binding simply pressing the arrow will copy the name of the agent to the variable name.
5.4 Add a User Task to Show Results
After the agent task, add a User Task and attach a form that displays the result fields:
- Temperature
- Precipitation
- Wind
The process looks now like this:
Step 6: Try It Out
Publish the app and open Flowable Work.
-
Start a new instance of the process.
-
Enter sample values:
- Location:
Zurich - Time of Year:
Summer
- Location:
-
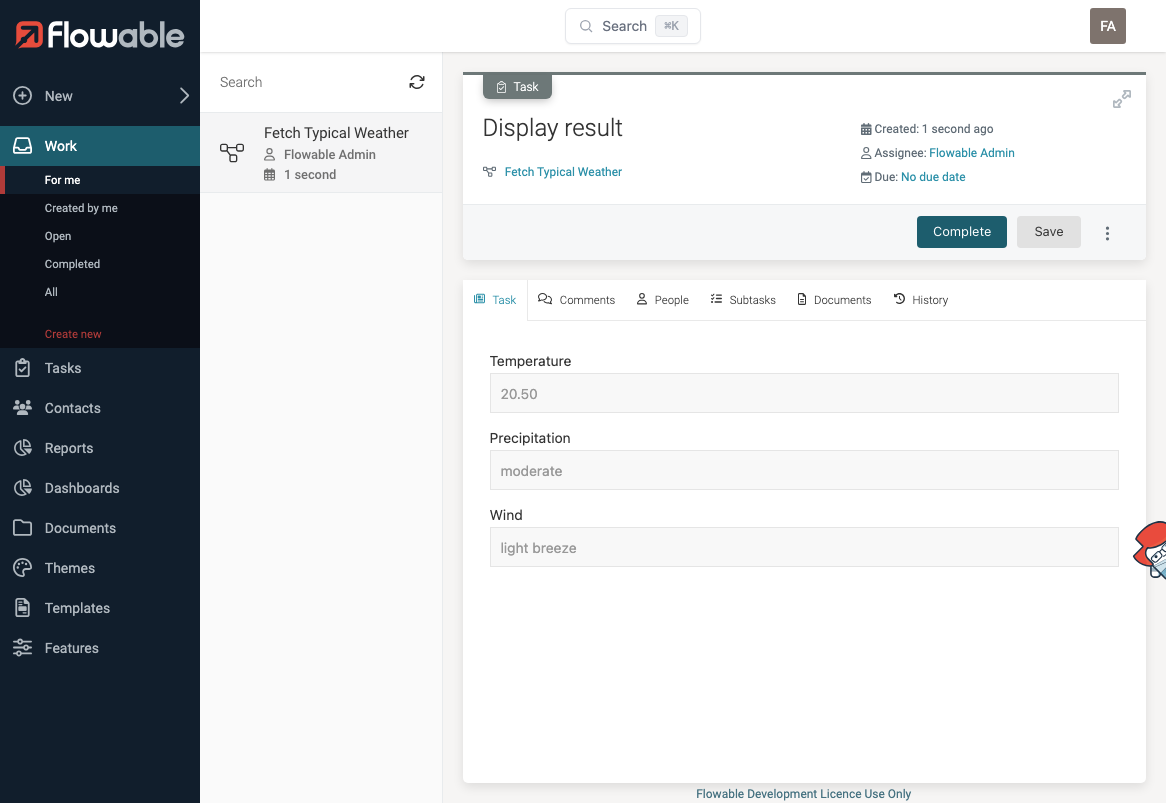
The Utility Agent will run and return the weather data.
-
The User Task form will display the structured result.
Conclusion
You have now built an end-to-end AI-powered process using a Utility Agent in Flowable.
This how-to covered:
- Create a Utility Agent with a structured operation
- Define input/output parameters
- Use expressions in prompt messages
- Test your operation directly in Flowable Design
- Connect it to a process using the AI Agent Task
The prompt testing tab is especially useful when designing or refining agent behavior. Use input variables in the system and user messages to create clear, context-aware instructions for the LLM.